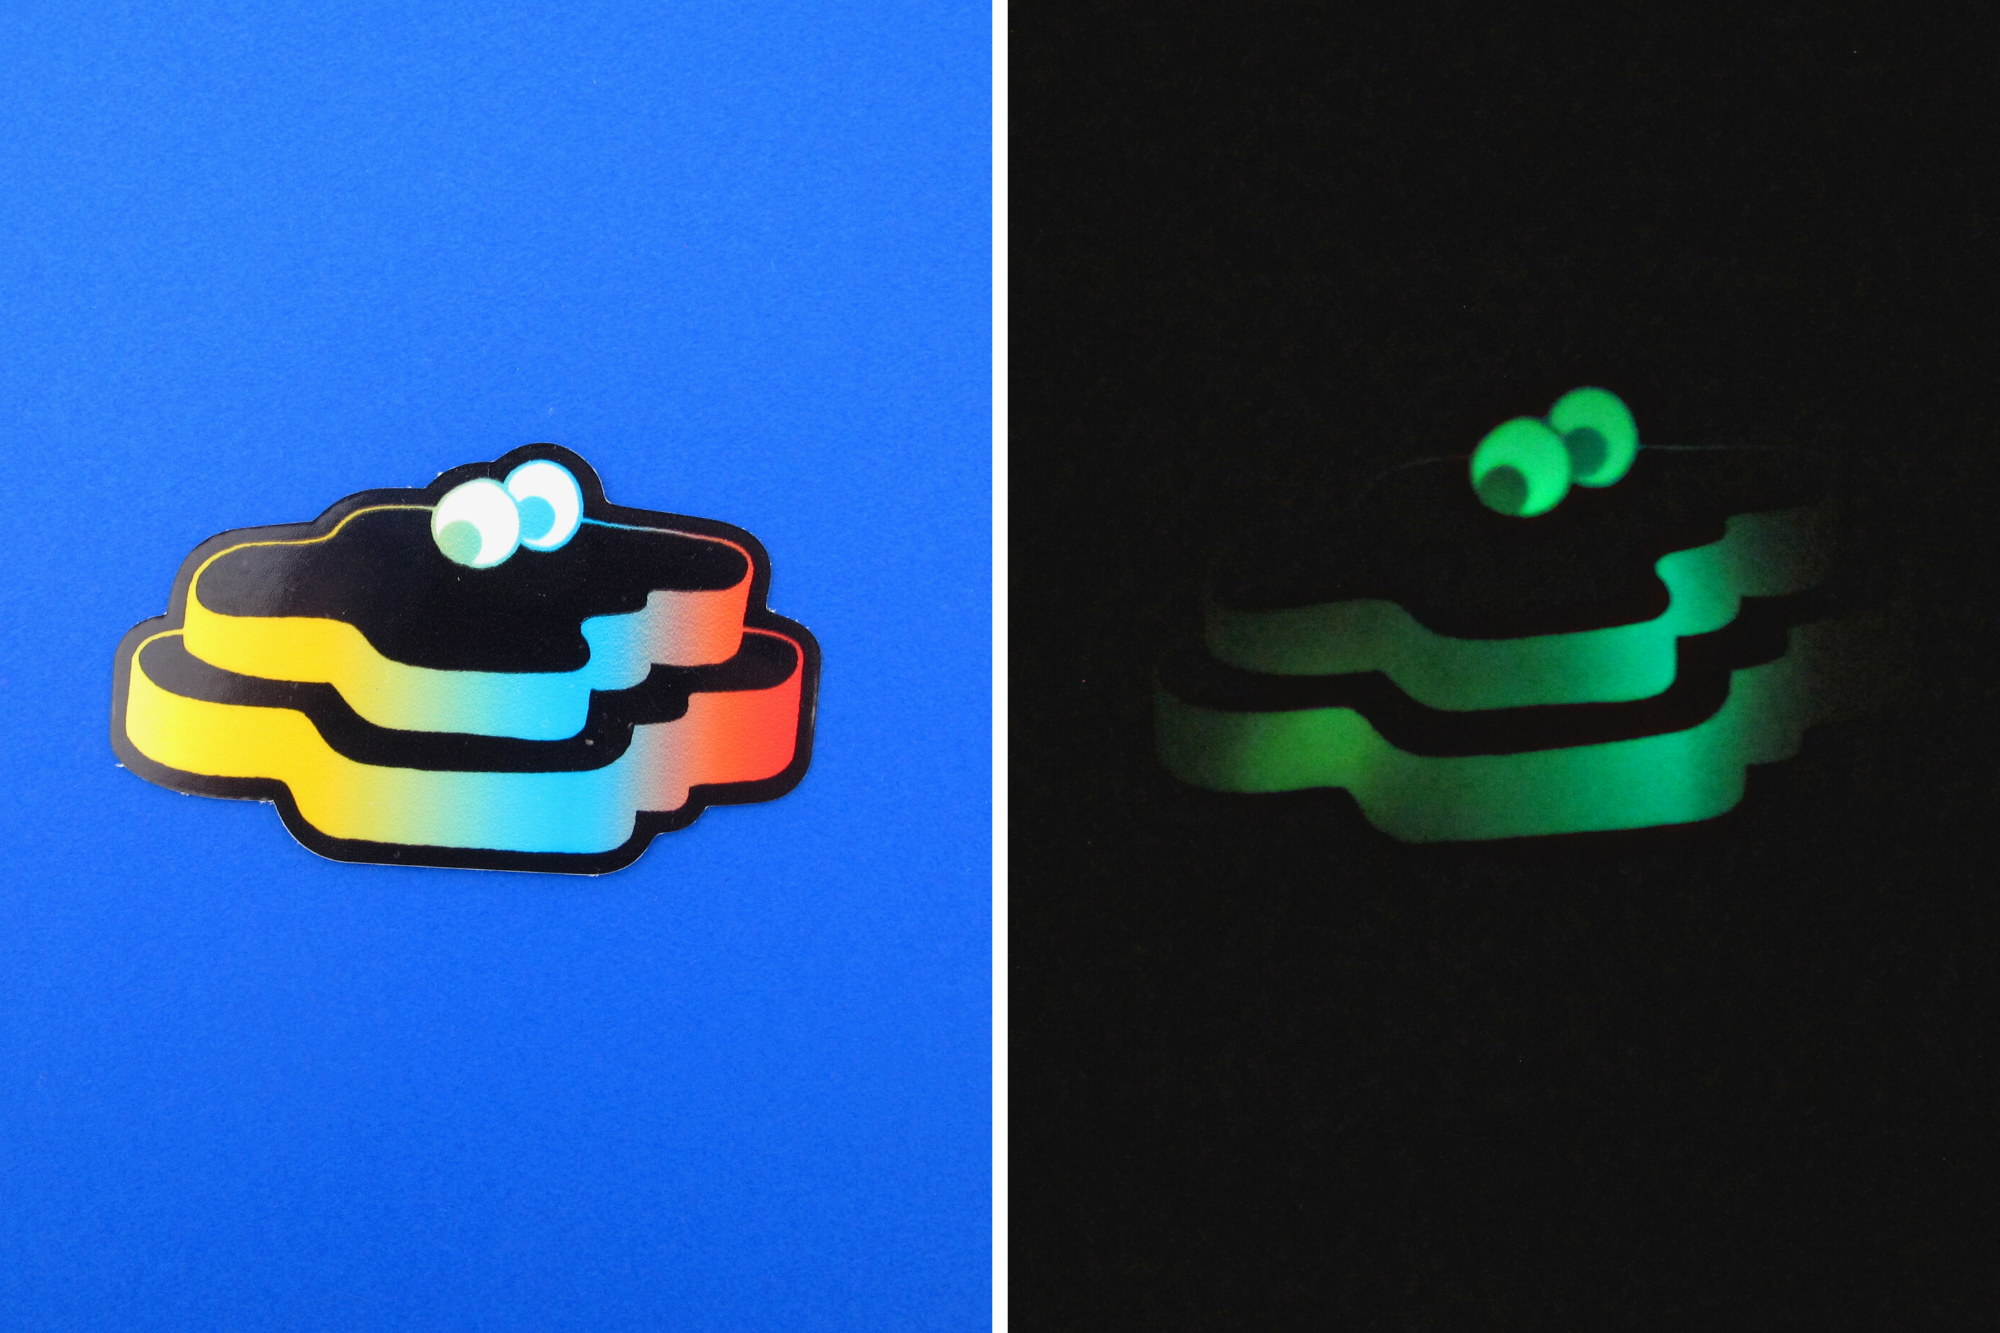
Busy Beaver’s exclusive glow in the dark stickers are the talk of the town and one of the most requested items we have available for purchase. We’ve worked tirelessly to make them more accessible for our customers by lowering our order minimum and introducing 7 color process so we can print any design. Now everyone can make the perfect glow order! But how can you take advantage of our most interactive finish? No one can answer this question better than Busy Beaver’s very own in-house designer and the backbone of our sticker printing services; David Alvarado.

—
David spent months last year learning the ins and outs of sticker printing and the material we use to achieve our one of a kind glow finish. He is a bonafide expert in the sticker biz, even testing out how well our printing and safety grad glow material will work on a variety of designs he created himself (featured in this post) to better help our customers. I asked David for his best tips on how to make a successful glow in the dark sticker. Here’s what he had to share:
David Says: Be Conscious of Your Cutline

The material we use for our glow in the dark decals have similar limitations that our other vinyls have. If you’re choosing any of our standard sticker shapes, you’re in the clear. If you plan on submitting an order for custom die cut glow stickers, which are stickers that have a custom shape of your choosing, you’ll want to plan out your outline in advance.
What is David’s advice? “Be conscious of creating a cutline that is not overly complicated or one that has strong acute points.” Rounded edges are more successful than sharp, small corners when it comes to die cut stickers. We’ve created an easy guide that will walk you through how to create the perfect die lines in Illustrator every time! Though our team is more than happy to create them for you too.
David Says: Plan Color Carefully

Black and white designs will never let you down when it comes to glow. Since the black doesn’t glow, it will make the white, which will glow brighter than any other color, stand out more. But this doesn’t mean you need to stray away from color either! With our new 7 color process sticker printers we’re able to print more versatile designs as glow stickers than ever before. David has some advice on how to take full advantage of the interactive material if you’re planning to submit a colorful design.
Our glow in the dark material is really strong, it glows very bright in the dark. Yellows and lighter colors can sometimes get lost when the high powered material is glowing at full charge in the dark. Avoid yellow text on white or your message will likely disappear when activated. On the other hand, pinks and reds have a difficult time absorbing light so these colors won’t show off the glowing effect as much as other colors will. If you want details in your design to stand out in the dark, consider using lighter colors.
David Says: Be Bold

When it comes to glow in the dark stickers, high contrast images are going to work best. David’s final glow tip is to avoid submitting photos or artwork with a lot of soft details to get the intended results.
Remember, when it comes to glow, the bolder the better!
—
If you follow David’s three keys to a successful glow sticker, your decals are sure to be turning heads both in daylight and when they’re supercharged in the dark. We’re always happy to preview your artwork for you beforehand to give you our best thoughts!
Ready to get your glow on?
Let’s get started! Check out what else our custom stickers can do!


